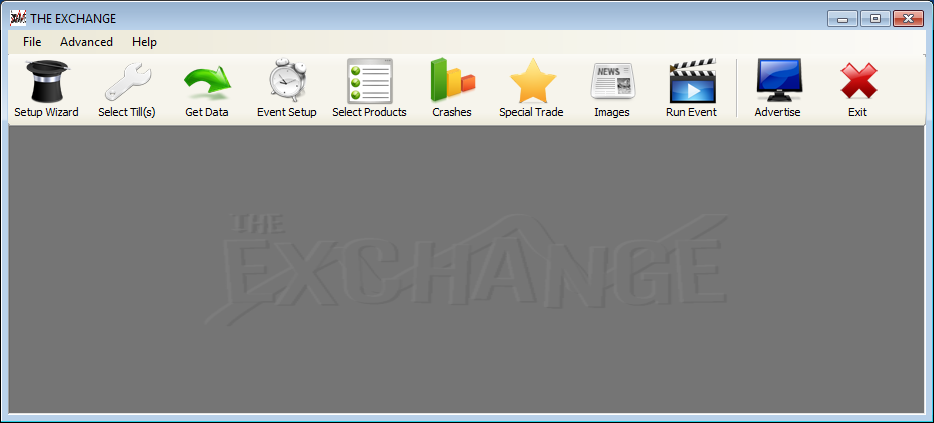
The software will be setup and configured remotely by the supplier of the software, or their recognised partner.
To be able to use the software, you purchase ‘Event Bundles’, which allow you to run a specific number of events before needing to purchase more.
There is also a wizard that will step you through the process and set up the majority of the details.
Before you can use The Exchange with Idealpos, you will need to configure the till setup.
Go to Advanced > Change Till(s).
Select Idealpos from the drop-down > press OK.
Confirm the changes and select ‘Yes’.
Go to Advanced > Configure Till(s) > browse to the file locations setup in Idealpos > press OK.
It is possible to use a different price level in Idealpos to facilitate better reporting for marketing results.
You will need to configure a Special Price Schedule in Idealpos to change the price level during the event for this to work.
Press the ‘Setup Wizard’ button to configure an event.
A new window will open for the start of the wizard.
No changes can be made on this page so press ‘Next’.
Idealpos does not allow the use of individual tills.
It’s a good idea to ensure you are always working with the latest data available from Idealpos.
Press the ‘Get Data’ button.
The program will check the relevant files.
When the data is successful press OK.
Press ‘Next’ to continue.
Select the times the event will take place and press ‘Next’.
Select the items from the left window one at a time and press ‘Add’.
Before items are added you will need to enter a Minimum and Maximum value to sell them for.
Press ‘OK’ and the item will be added to the database.
Once you have added all the items you want, press ‘Next’ to proceed.
Click ‘Create’ to create random crash times with random products, or manually add your specific ones using the ‘Add’ buttons.
Once you have set this up, press ‘Next’.
Don’t change any settings on the Special Trade screen, just press ‘Next’ to proceed.
More information about this feature can be obtained through ‘The Exchange’ support.
Unless you are using specific images, there is no need to change any settings on the Image page.
More information about this feature can be obtained through ‘The Exchange’ support.
Congratulations you have configured an event.
Click ‘Finish’ to exit the wizard.
You will be prompted to run your event ‘Now’ or ‘Later’.
If you select ‘Now’, the screen will open to ‘The Exchange’ window and start displaying.
If you select ‘Later’, it will just exit to the main screen of ‘The Exchange’ software.